
Sometimes all you need is a little creative inspiration.
Lately I have been deep diving in the archives of Everything Art, an educational platform hosted by Jamie and Kasia Avery. I discovered their videos when I was searching for some tips on learning the art of encaustic.
My two major takeaways from EA was to use a composition notebook to start art journalling in, because the cheap, lined paper gives you permission to not be so precious about it. I honestly never would have thought of that. Having gone to art school for a year in college, sometimes I still find myself needing to follow “the rules” even though more and more I am learning that that can actually stifle and limit my creativity. The second takeaway was the gift of seeing someone else in their process, realizing that it is totally accessible, and being given the push to finally do it! I have been admiring art journals for years, but never started one. I think watching all of these videos and reading blog posts gave me the confidence I needed to start. So thank you to Jamie and Kasia! I will likely be sharing more gems that I picked up from them along the way.
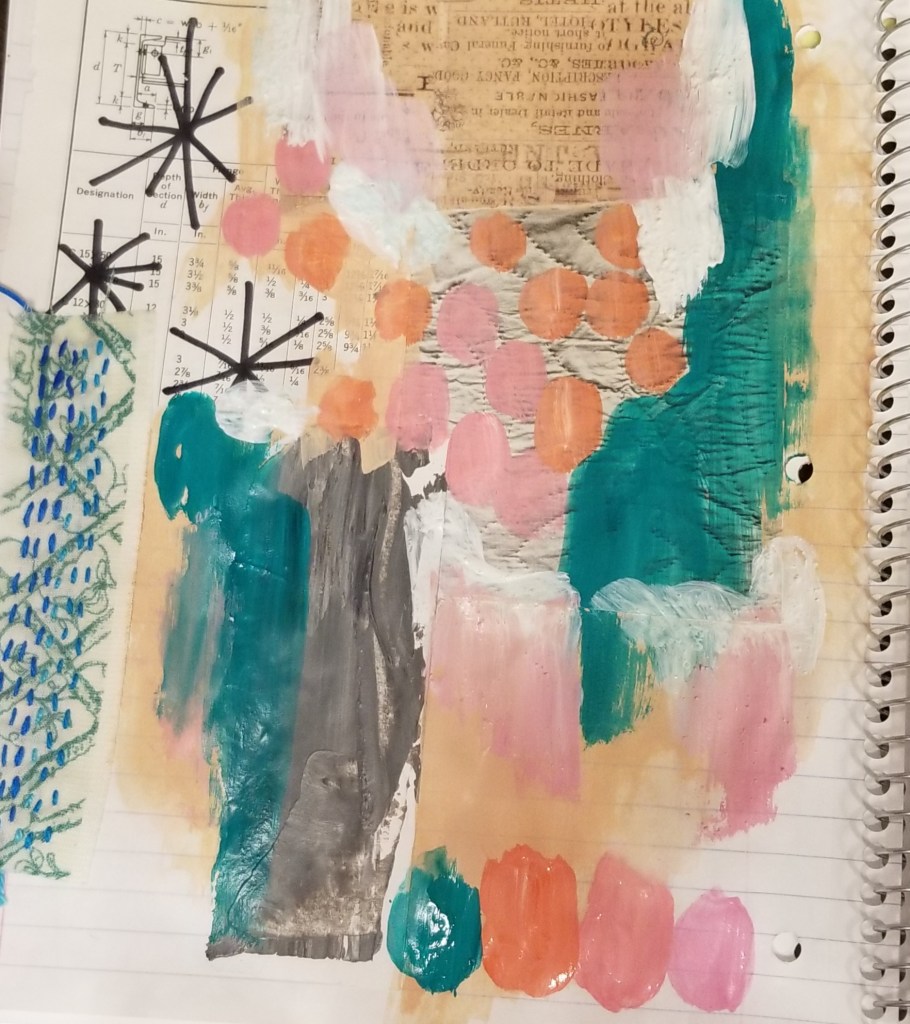
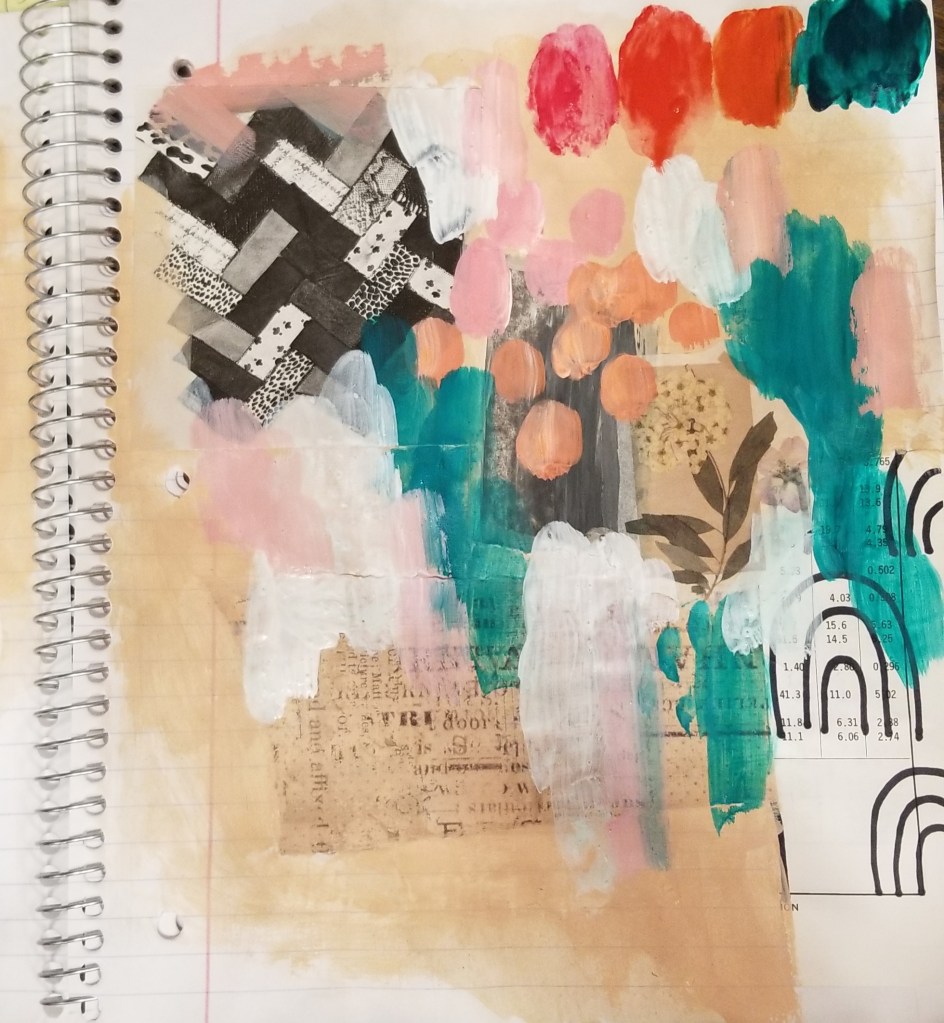
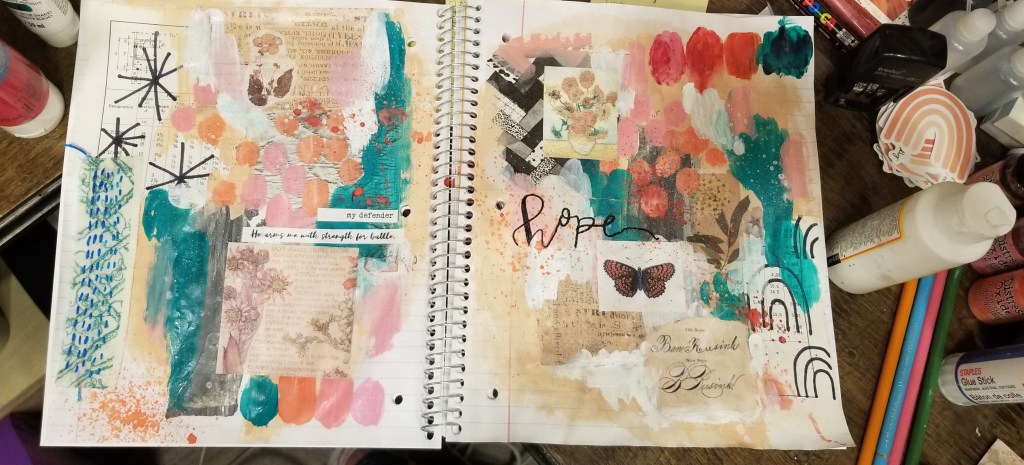
This is the start of my first spread. Kasia made a point that having a single colour palette for an entire art journal really takes the guesswork out of it, makes for a cohesive look throughout, and challenges you to push the boundaries within those confines. So at the top right corner of my page, I chose my four colours. Then I also swatched those same colours mixed with white to get an idea of the palette versatility. I didn’t really have a plan when I started this spread, but was surprisingly pleased with the way it turned out.
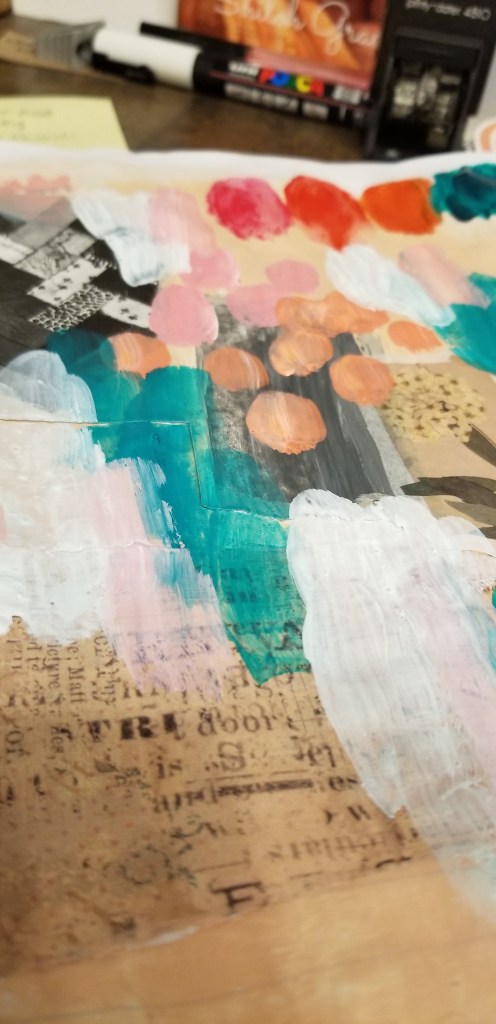
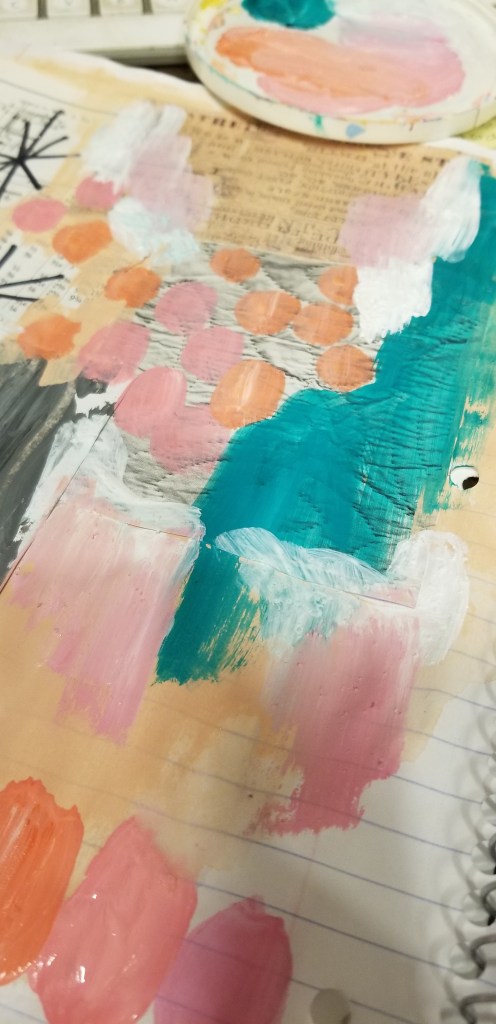
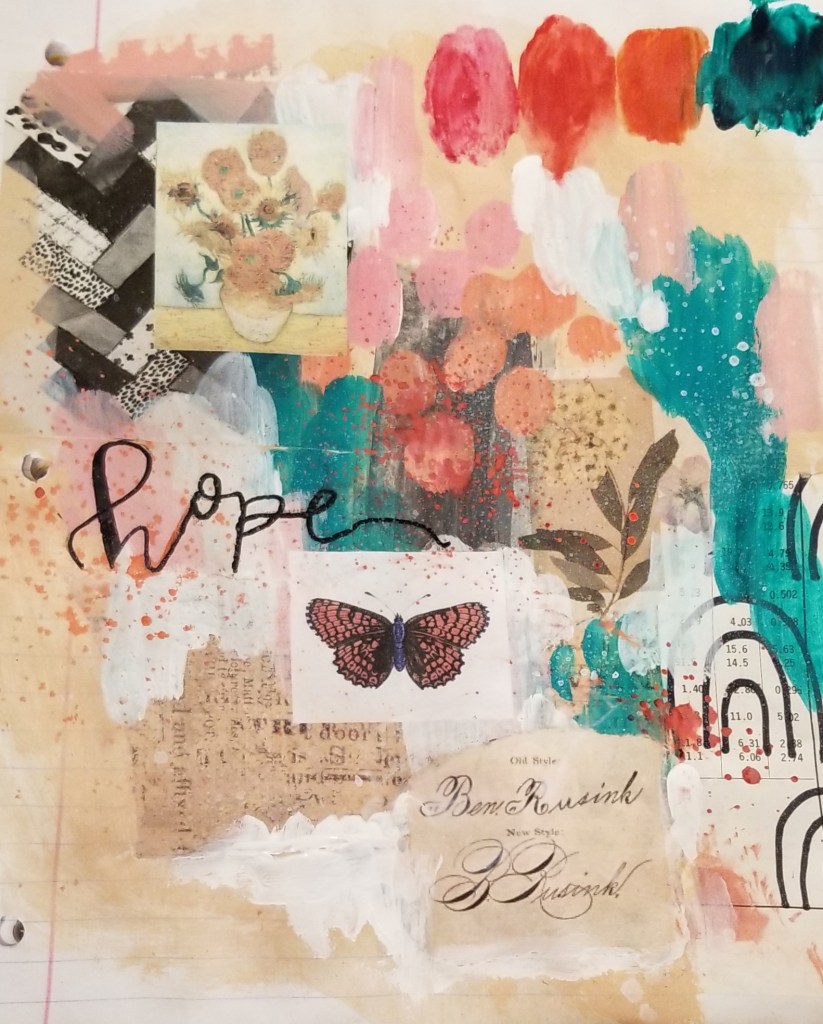
I wanted to explain the steps I took in creating this, so that if you have been waiting to start art journalling too, you could have the framework to jump in. First off, I started out by using clear gesso on both pages. No particular reason, I just thought it could be fun to leave some of the lined paper showing. Then (as per Kasia’s recommendation..) I found some neutral coloured background papers to collage on. I chose a flesh tone to paint in the background (which I guess is technically cheating off the colour theme, but I had forgotten to choose my colour palette at this point). I just liked that the flesh colour somewhat matched some of the vintage looking pages. Then I mixed up my colour palettes and used the extra paint up on the pages. I hadn’t planned to do this, but ended up really liking how it looked. Then I chose some main focal images and text to tie it all together. Following that, I decided to try out my new spray inks which I had been so excited to use. I got a little overzealous, but still enjoy the effect. Maybe just go easy on those.. and make sure to put some newspaper under the pages in your journal spread.
Some final notes:
~I hand lettered the word ‘hope’ because I was too lazy to find that specific word I wanted in my envelope of word cut-outs. This did not go super smoothly as I had used some coarse texture paste in that general area. Something to take into consideration in the future!
~One of the challenges of this is definitely knowing when to stop. But I think that is something that will continue to develop as you practise. After I took these photos, I continued to fuss, adding some red oil pastel marks. Oil pastels are a lovely addition, you just have to consider if you are ok with them smudging a bit, or if you decide to add a fixative on top. I think I will use kamar varnish if needed, even though it’s not the best smelling.
~Following the lovely advice from Wendy Solganik with Willa Wanders (insta), I made some handmade collage fodder (as she calls it), using old welding manuals from my husband, which I drew on with a sharpie. These make for a fun and personal addition to background layers.
~I have been wanting to incorporate some hand-stitching into my work for a long time, so I have been making small patches in bed at night. I glued this one on prematurely, but in the future will try and incorporate the stitchwork a bit more seamlessly.. forgive the pun! Ha.
~I also used a few flower stickers, butterfly cutout (The Graphics Fairy), cutouts from an old quilting book, and scrapbook paper, and the Van Gogh cutout was in the freebies when you subscribe at Everything Art
I think that’s all, feel free to comment with any questions, and I’ll do my best to get back to you. Happy arting!

hi. i think this is a great start. well done excellent work, do keep on art creating i love the colours you are using, very unique to you. i see style in this, keep on and on…
LikeLiked by 1 person
Thank you so much for your kind and thoughtful encouragement!
LikeLiked by 1 person